Smart Baby Monitor
- Student: Andreea-Diana Ciocaianu
- Master: SRIC
Introduction
Created for parents everywhere, the smart monitor aims to offer an overview of the baby's sleeping environment, measuring the light and sound levels of the room and alerting the parents in case something is not right. In order to do so, this project combines the functionalities offered by the ESP32 board with Blynk, a very handy app for IoT projects.
Hardware Design
Bill of materials
- ESP-WROOM-32 board
- Analog sound sensor module
- Photoresistor 5528 LDR
- RGB LED
- Piezo Buzzer
- Resistors x 4
- Jumper cables
Simulator view
Real-life view
Software Design
Components
- Arduino IDE
- Blynk App* (Desktop and/or Mobile)
*The Blynk App allows offers its users the possibility of effortlessly constructing and managing their own IoT projects. It puts forward a user-friendly interface that allows for designing customizable smartphone interfaces that communicate with various hardware devices such as our board ESP32.
Users can leverage Blynk to build and set up virtual buttons, sliders, gauges, and other widgets on their smartphone screen, allowing them to remotely control and monitor their connected devices. The software makes use of the WiFi's capacity to establish a secure link between the user's smartphone/desktop and the hardware, enabling real-time data monitoring, device control, and automation.
Code Logic
There are 3 main functions present in this code:
- measureLight() - determines the brightness of the ambient light and sends all the alerts in case the thresholds are being breached
void measureLight() {
  long sum = measureSound();
  int analogValue = analogRead(LIGHT_SENSOR_PIN);
  if (analogValue < 40 && sum > 50 && isMusic == 0) {
    Serial.println("DAR AND CRY");
    Blynk.logEvent("sound_alert", String("Baby crying in the dark"));
  } else if (analogValue > 40 && analogValue < 3200 && sum > 50 && isMusic == 0) {
    Blynk.logEvent("sound_alert", String("Baby crying"));
  } else if (analogValue > 3200) {
    Blynk.logEvent("light_alert", String("Too bright for baby to sleep"));
  }
  Blynk.virtualWrite(virtualPin, analogValue);
  delay(100);
}
- measureSound() - measures the level of sound for around 300 miliseconds and computes an average of all the values to compare with the threshold
long measureSound() {
  long sum = 0;
  for(int i = 0; i < 300; i++) {
    sum += analogRead(SOUND_SENSOR_PIN);
  }
  sum = sum/300;
  Blynk.virtualWrite(virtualPinSound, sum);
  delay(100);
  return sum;
}
- music() - the function that makes the buzzer sing a melody similar to Twinkle, twinkle, little star (source in References section) and sends input to the RGB according to the musical note
void music() {
  isMusic = 1;
  for (int thisNote = 0; thisNote < notes * 2; thisNote = thisNote + 2) {
    if (thisNote % 3 == 0) {
        color_red();
        color_green();
        color_blue();
        color_purple();
        color_light_green();
        color_light_blue();
        color_red();
    }
    else if (thisNote % 3 == 1) {
        color_purple();
        color_light_green();
        color_light_blue();
        color_red();
        color_green();
        color_blue();
        color_green();
    }
    else if (thisNote % 3 == 2) {
        color_light_green();
        color_light_blue();
        color_purple();
        color_blue();
        color_red();
        color_green();
        color_blue();
    }
    divider = melody[thisNote + 1];
    if (divider > 0) {
      noteDuration = (wholenote) / divider;
    } else if (divider < 0) {
      noteDuration = (wholenote) / abs(divider);
      noteDuration *= 1.5;
    }
    tone(BUZZER_PIN, melody[thisNote], noteDuration * 0.9);
    delay(noteDuration);
    noTone(BUZZER_PIN);
    isMusic = 0;
  }
}
There are also small utility functions to color the RGB and specific functions to interface with Blynk API. For more details check the Download code section below
Functionalities
The system collects data from both the photoresistor and the sound sensors and renders them in real-time on the Blynk app interface. The desktop interface also presents a chart with the evolution of data over a certain period of time.
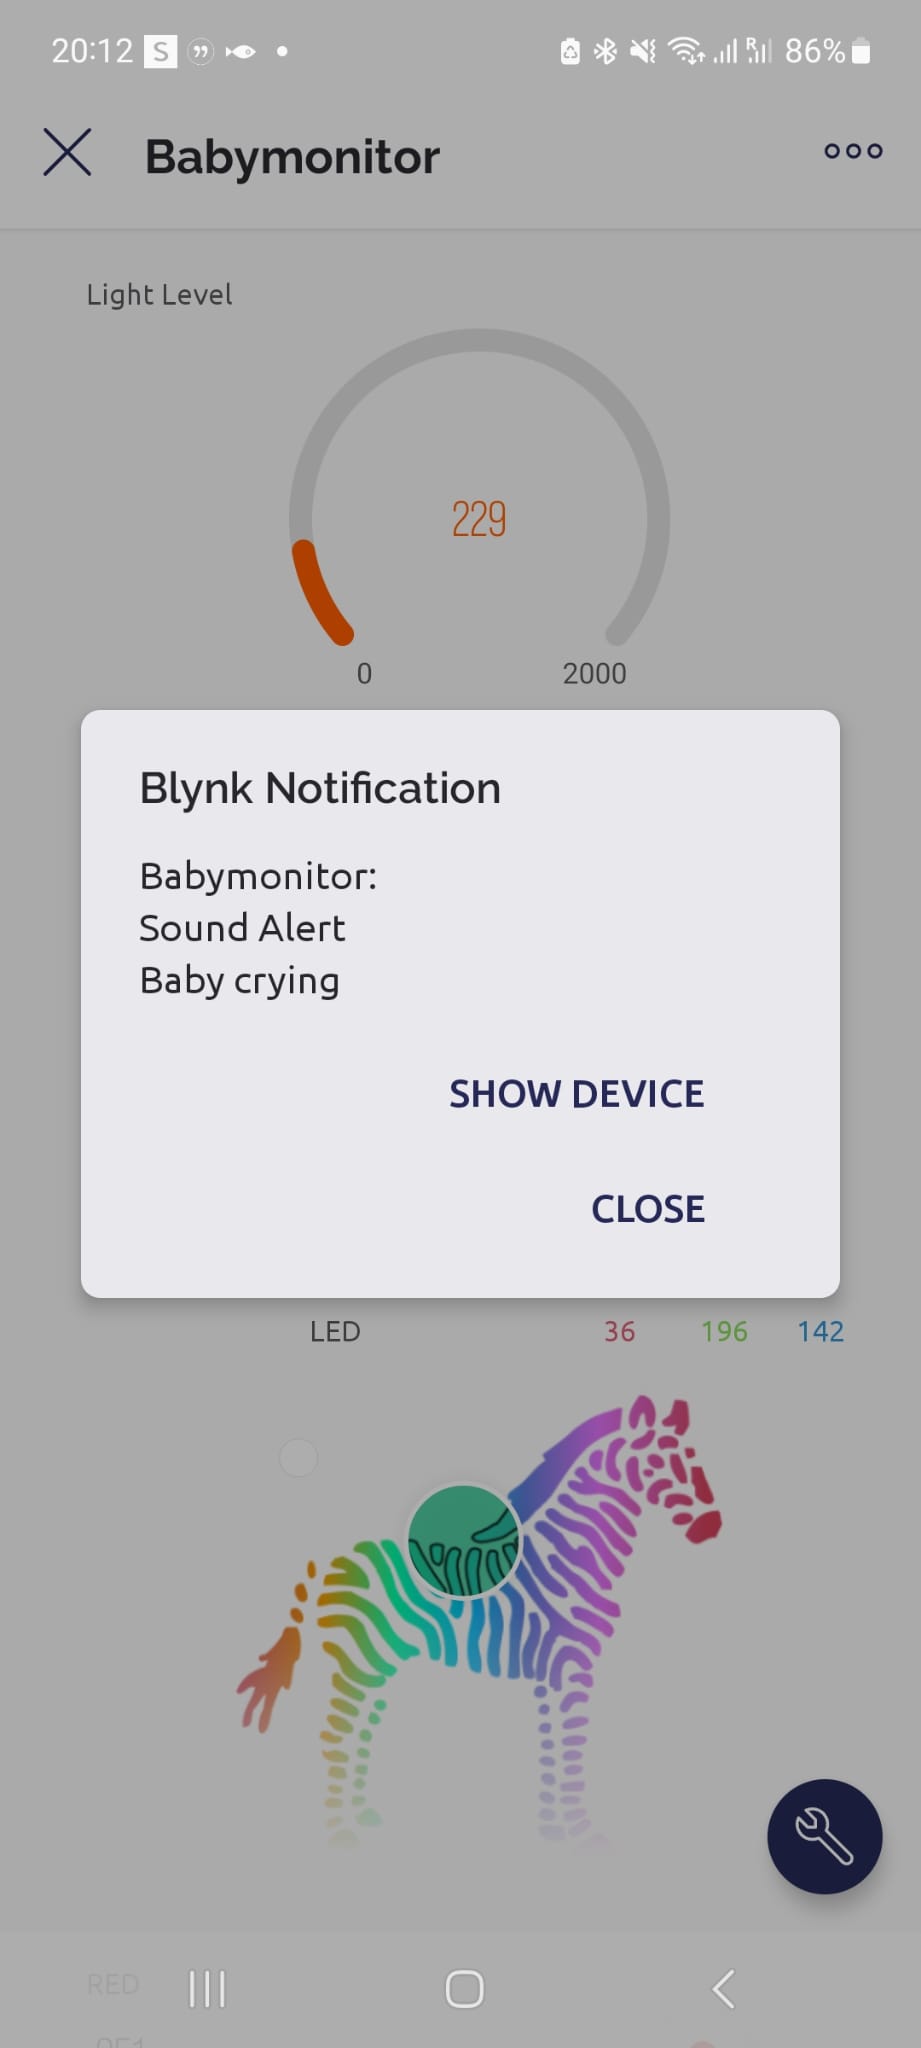
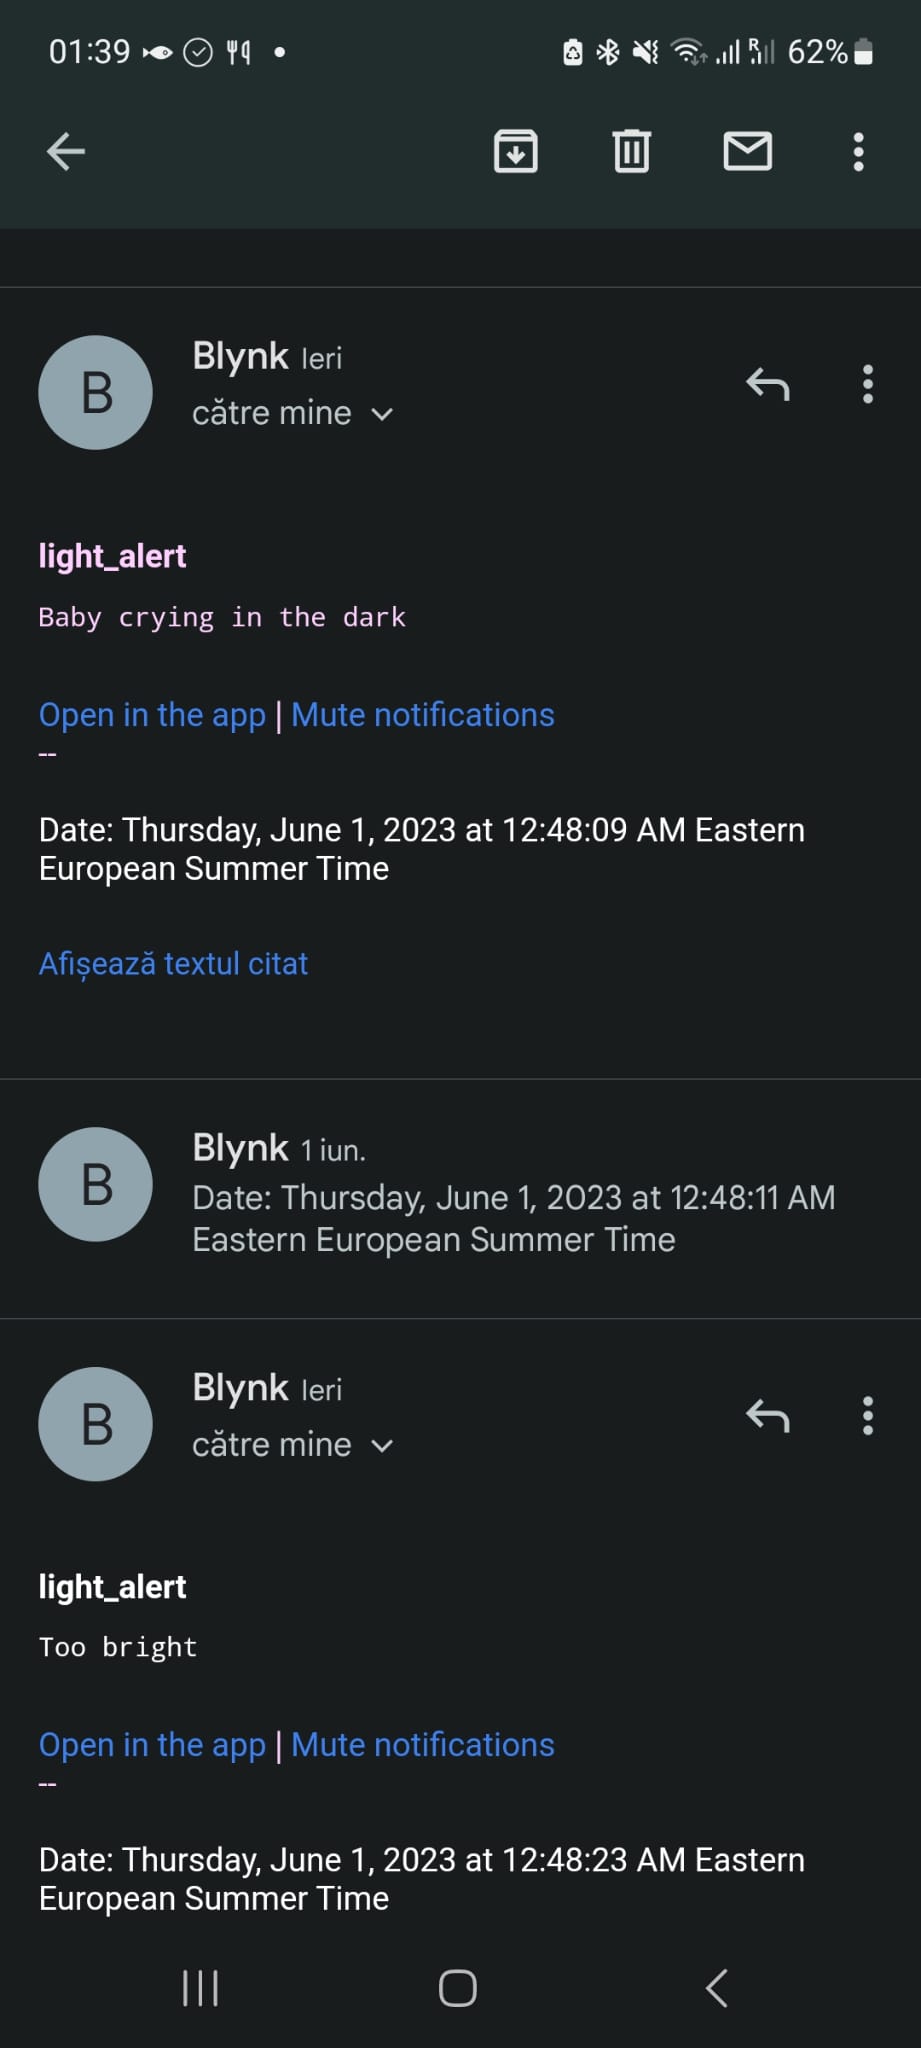
Whenever the sound levels reach a pre-defined threshold, the parents will get an alert on the mobile app, as well as an email on a pre-set email with the text ”Baby crying”. In a similar way, if the light levels reach a certain threshold, the parents will get the alert with the text ”Too bright for baby to sleep”. The last type of alert the parent can get is when the sound levels are high while the light levels are low, with the text ”Baby crying in the dark”.
Along with these functionalities, the parents can manipulate the colors and brightness of the RGB lamp using both the desktop version and the mobile version to create a more pleasant environment for the baby. In order to soothe the baby, the parent can set the lamp to play a lullaby accompanied by a show of colorful lights.
For an overview of the project's flow check the diagram below:

Demo
Screens
Desktop Version
Mobile Version
Download code
References
Tutorials & documentation
- Blynk documentation: https://docs.blynk.io/en/
- Photoresistor: https://esp32io.com/tutorials/esp32-light-sensor
- LED control tutorial: https://www.instructables.com/Use-ESP32-to-Control-LED-With-Blynk-Via-WiFi/
Software
- Hardware scheme: https://fritzing.org/
- Flow scheme: https://app.diagrams.net/


