
MP3 Player
Introduction
My project represents an MP3 player with a display that shows the current song playing.
The project can read the MP3 files in the SD card, and can pause and play the same as the device 10 years ago. And also it has previous song and next song function.
My aim is to make something simple and efficient while also including and adapting it to current standards.
General Description

My project uses an Arduino Uno board as its base connected to an oled display showing the current song playing, 3 buttons to use for its functions, an internal speaker and an sd card reader for reading the .mp3 files off of it.
Hardware Design
List of Parts:
- Arduino Uno

- Mini MP3 player

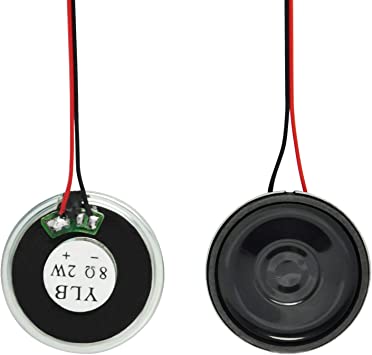
- Speaker
- 1.3 inch oled display

- 3 100Ω resistors
- 3 Switch Buttons
- Jumper wires
- Breadboard
- 1k Resistor
Software Design
This code is written for an Arduino board to control an MP3 module and display song information on an LCD screen. Here's a breakdown of the code:
- Libraries:
- LiquidCrystal.h: This library allows communication with LCD displays.
- SoftwareSerial.h: This library enables serial communication with the MP3 module.
- Constants:
- Start_Byte, Version_Byte, Command_Length, End_Byte, and Acknowledge: These are predefined values used for communication with the MP3 module.
- Variables:
- buttonNext, buttonPause, buttonPrevious: These variables store the pin numbers for the buttons used to control the MP3 module.
- isPlaying: This boolean variable keeps track of the current playback state.
- rs, en, d4, d5, d6, d7: These variables store the pin numbers for the LCD display.
- lcd: This object represents the LCD display.
- mySerial: This object represents the SoftwareSerial communication with the MP3 module.
- setup() function:
- Initializes the LCD display with the specified dimensions.
- Begins serial communication with the MP3 module.
- Sets up the button pins as inputs with pull-up resistors.
- Delays for 1 second to allow initialization.
- Calls playFirst() to play the first track and sets isPlaying to true.
- loop() function:
- Checks the state of the buttons and performs corresponding actions:
- If the pause button is pressed, it toggles the playback state between play and pause.
- If the next button is pressed, it plays the next track.
- If the previous button is pressed, it plays the previous track.
- Playback functions:
- playFirst(): Sends commands to initialize the MP3 module and start playback of the first track.
- pause(): Sends a pause command to the MP3 module.
- play(): Sends a play command to the MP3 module.
- playNext(): Sends a command to play the next track.
- playPrevious(): Sends a command to play the previous track.
- setVolume(): Sends a command to set the volume level.
- execute_CMD() function:
- Calculates the checksum and builds the command line to send to the MP3 module.
Results
 1. Initialization:
     * The LCD display will initialize and show "Duration:" on the first line and "Remaining:" on the second line.
     * Serial communication will be established with the MP3 module.
     * The button pins will be configured as inputs with pull-up resistors.
 2. Playback Control:
     * If you press the pause button (buttonPause), it will toggle the playback state between play and pause. The LCD display will not update with the song duration or remaining duration.
     * If you press the next button (buttonNext) while playing a track, it will play the next track. The LCD display will not update with the song duration or remaining duration.
     * If you press the previous button (buttonPrevious) while playing a track, it will play the previous track. The LCD display will not update with the song duration or remaining duration.
 3. Song Name Display:
     * At the beginning, I declared two matrixes that contained the songs and the respective artists in order for them to be displayed on the LCD screen.
Conclusions
- MP3 Module Integration: The project successfully integrates an MP3 module with an Arduino board using the SoftwareSerial library. The module is controlled using specific commands sent via the software serial communication.
- Playback Control: The code enables basic playback control functionalities such as play, pause, next track, and previous track. The buttons connected to the Arduino board trigger these playback commands.
- LCD Display: The project utilizes a LiquidCrystal library to interface with an LCD display. The display is initialized and shows fixed text for “Artist” and “Song”.
- Volume Control: The code includes a function to set the volume of the MP3 module. By calling the setVolume() function with a specified volume level, the volume of the playback can be adjusted.
- Serial Communication: The code establishes serial communication between the Arduino board and the MP3 module. It sends command sequences consisting of start bytes, command bytes, parameter bytes, and checksum bytes to control the module's behavior.
- Button Integration: The project integrates buttons with the Arduino board to provide user input for controlling playback. The code reads the button states and performs the corresponding actions based on the button presses.
- Additional Features: Depending on the specific requirements, additional features like playlist management, shuffle, repeat, or track selection can be implemented by extending the code and utilizing the capabilities of the MP3 module.
Download
Jurnal
Bibliography/Resources
