
Thermal Detonator Toy
Author : Claudia-Oana Panait
Group : 1221A
Faculty : FILS
Introduction
“Thermal detonators were palm-sized, spherical devices that were used as extremely deadly explosive weapons. In addition to being surprisingly powerful for their size, they could only be deactivated by whomever turned them on. They would only explode when they were activated, and therefore a secure and stable weapon to carry. They could also be programmed to explode after a set amount of time.”
Thermal detonator. Wookieepedia. (n.d.). Retrieved April 22, 2022, from https://starwars.fandom.com/wiki/Thermal_detonator
General Description

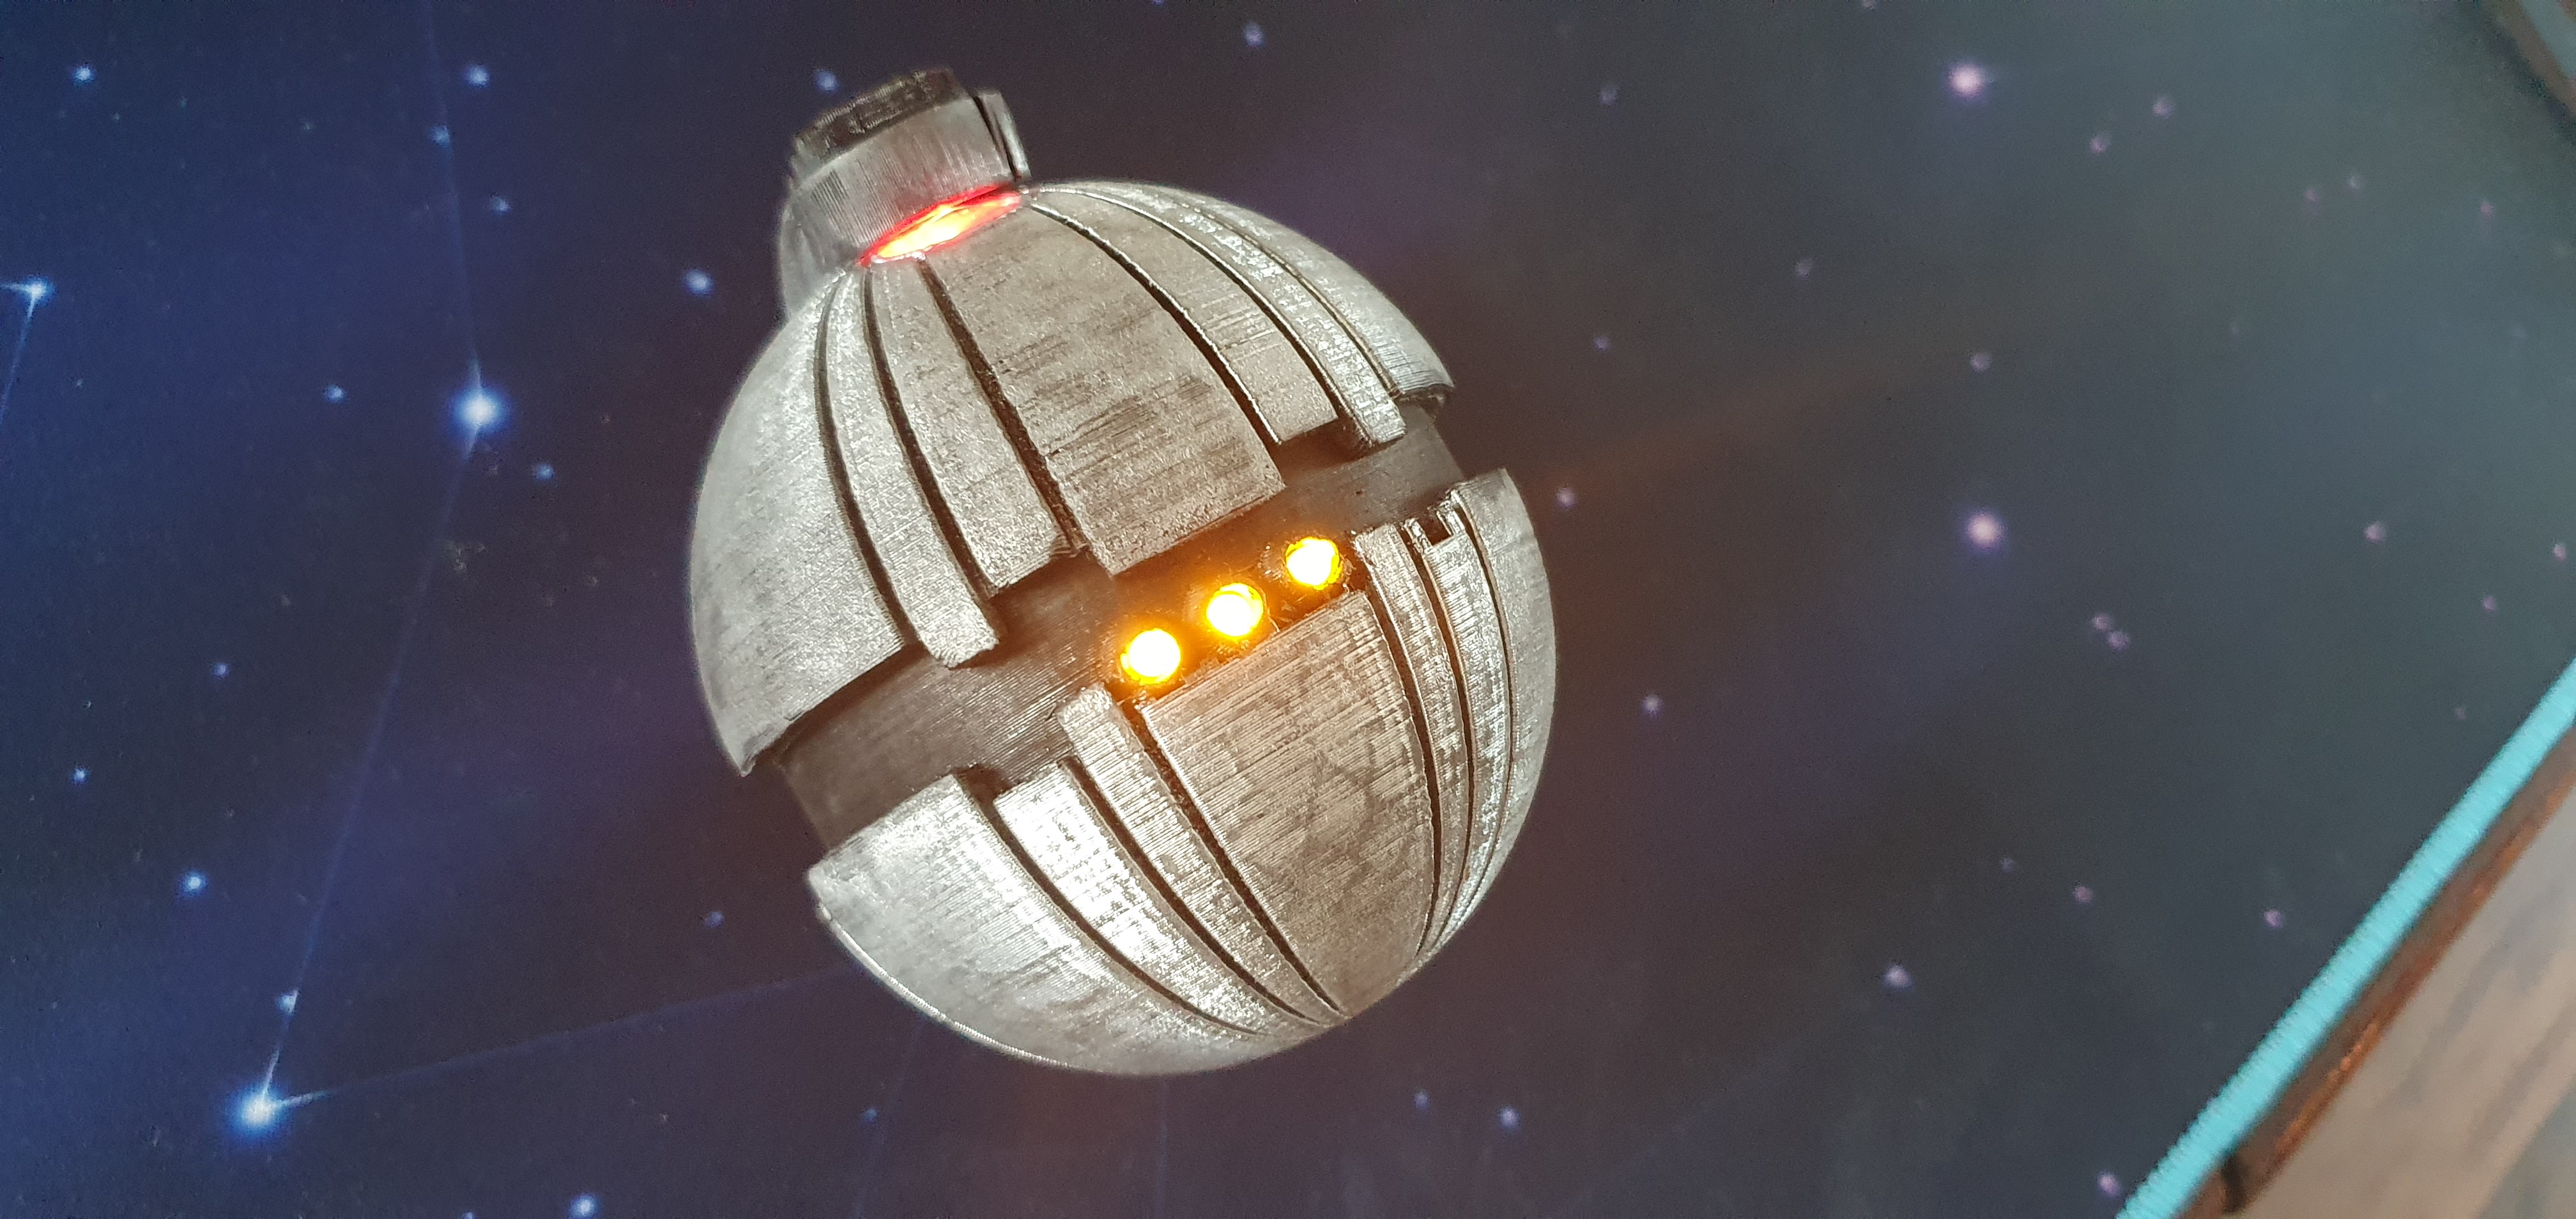
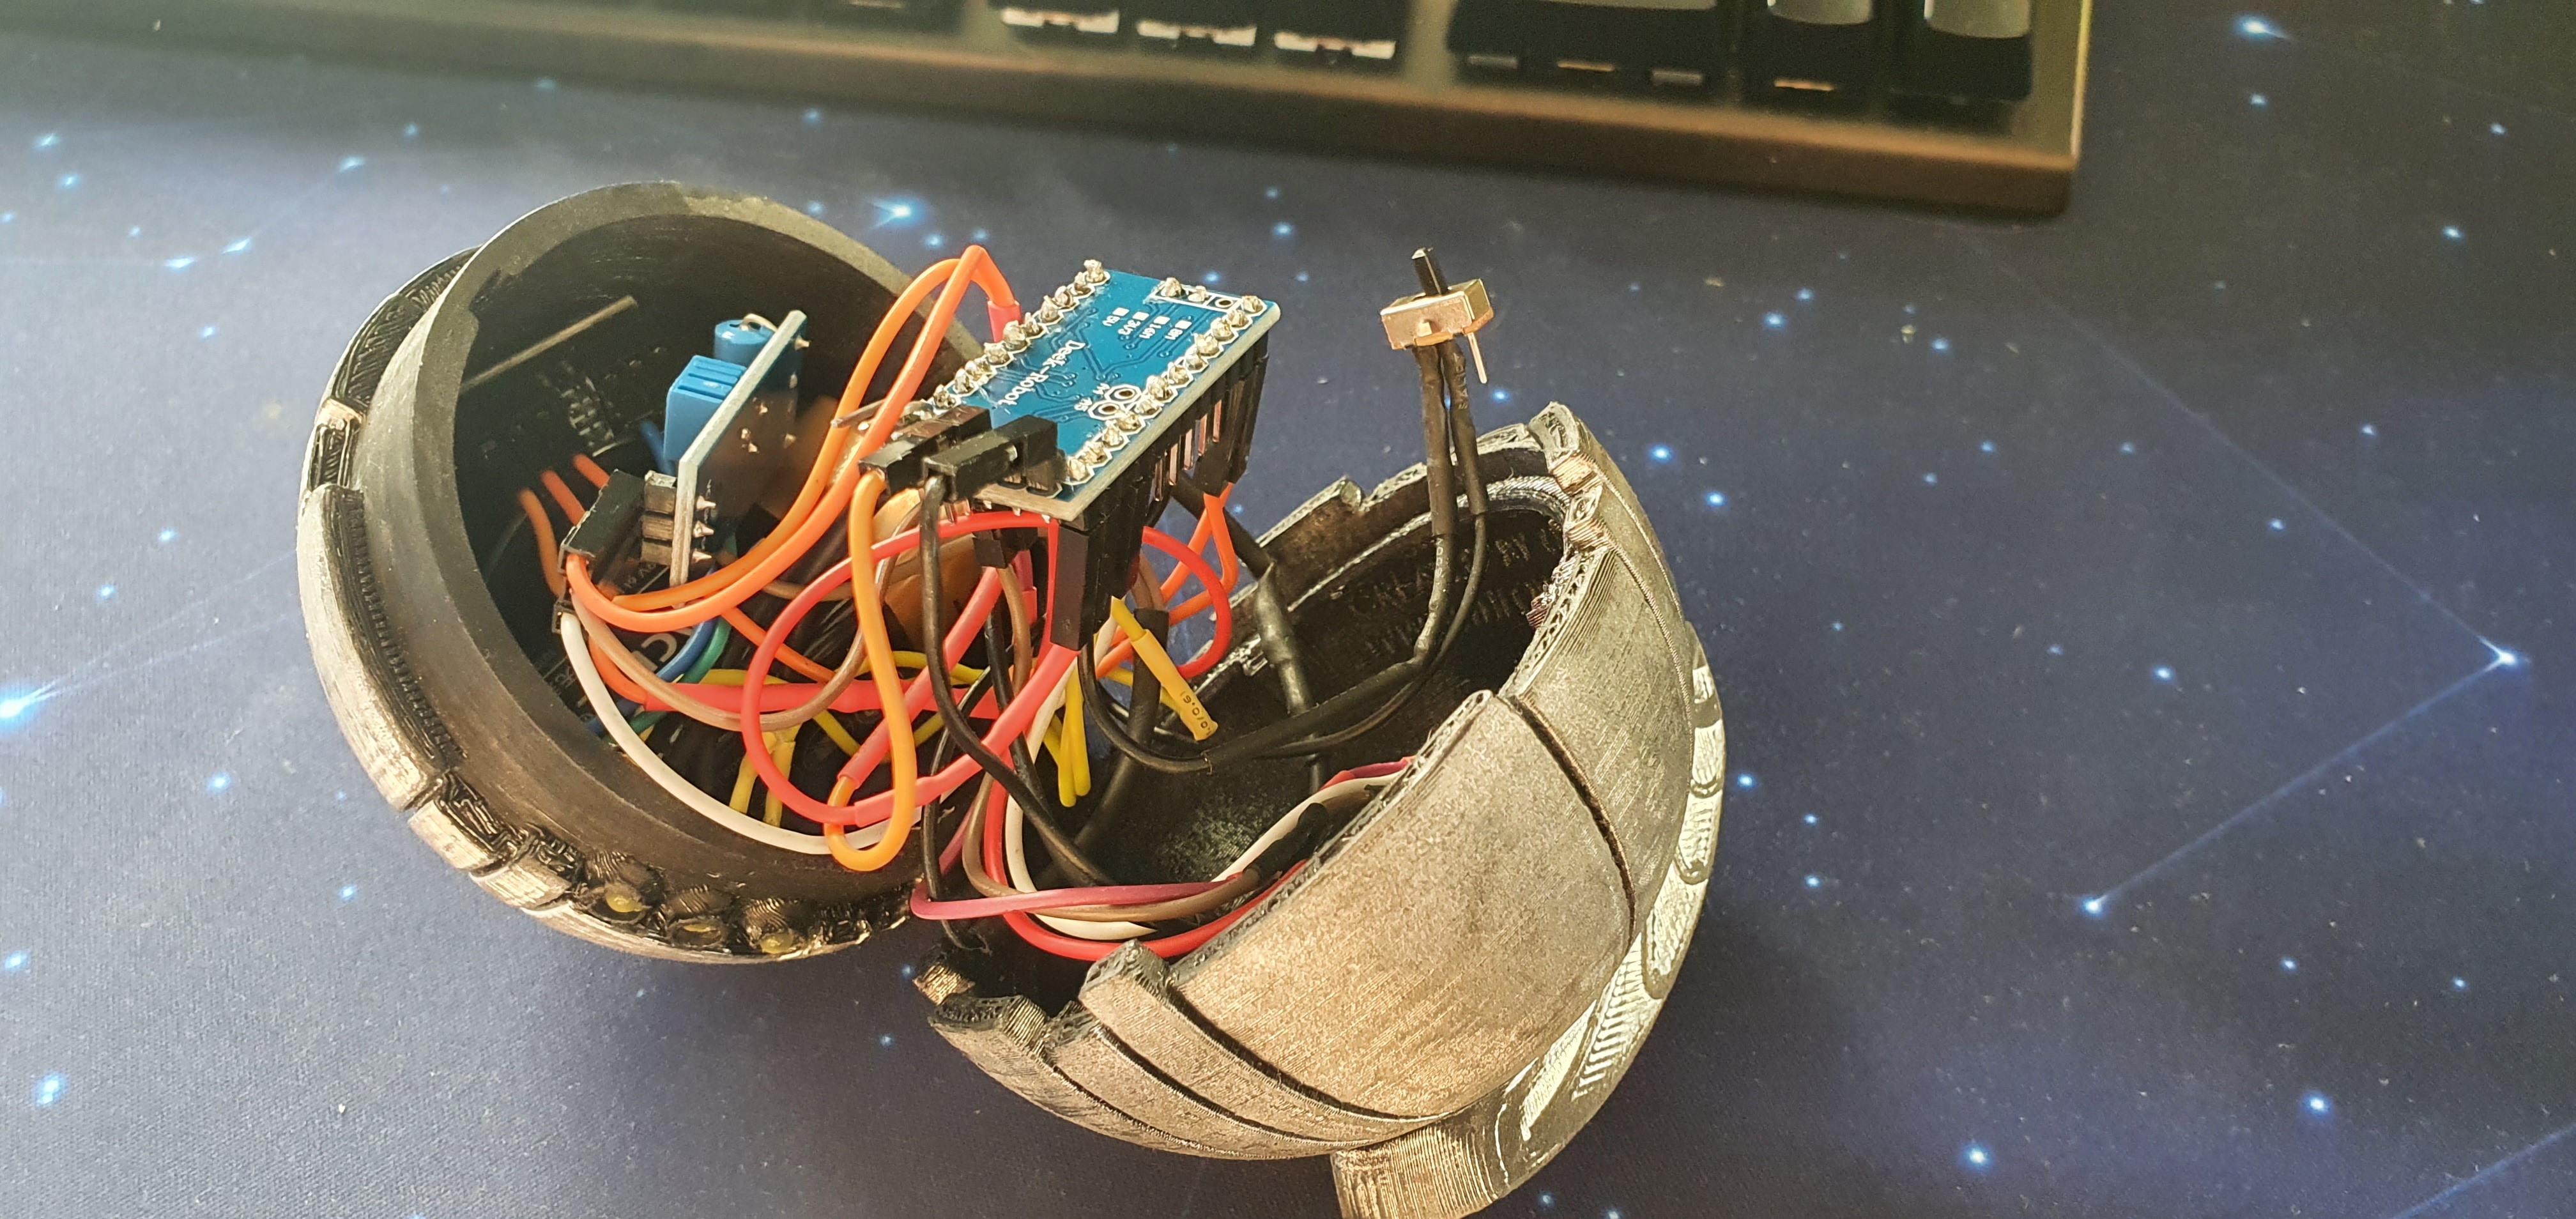
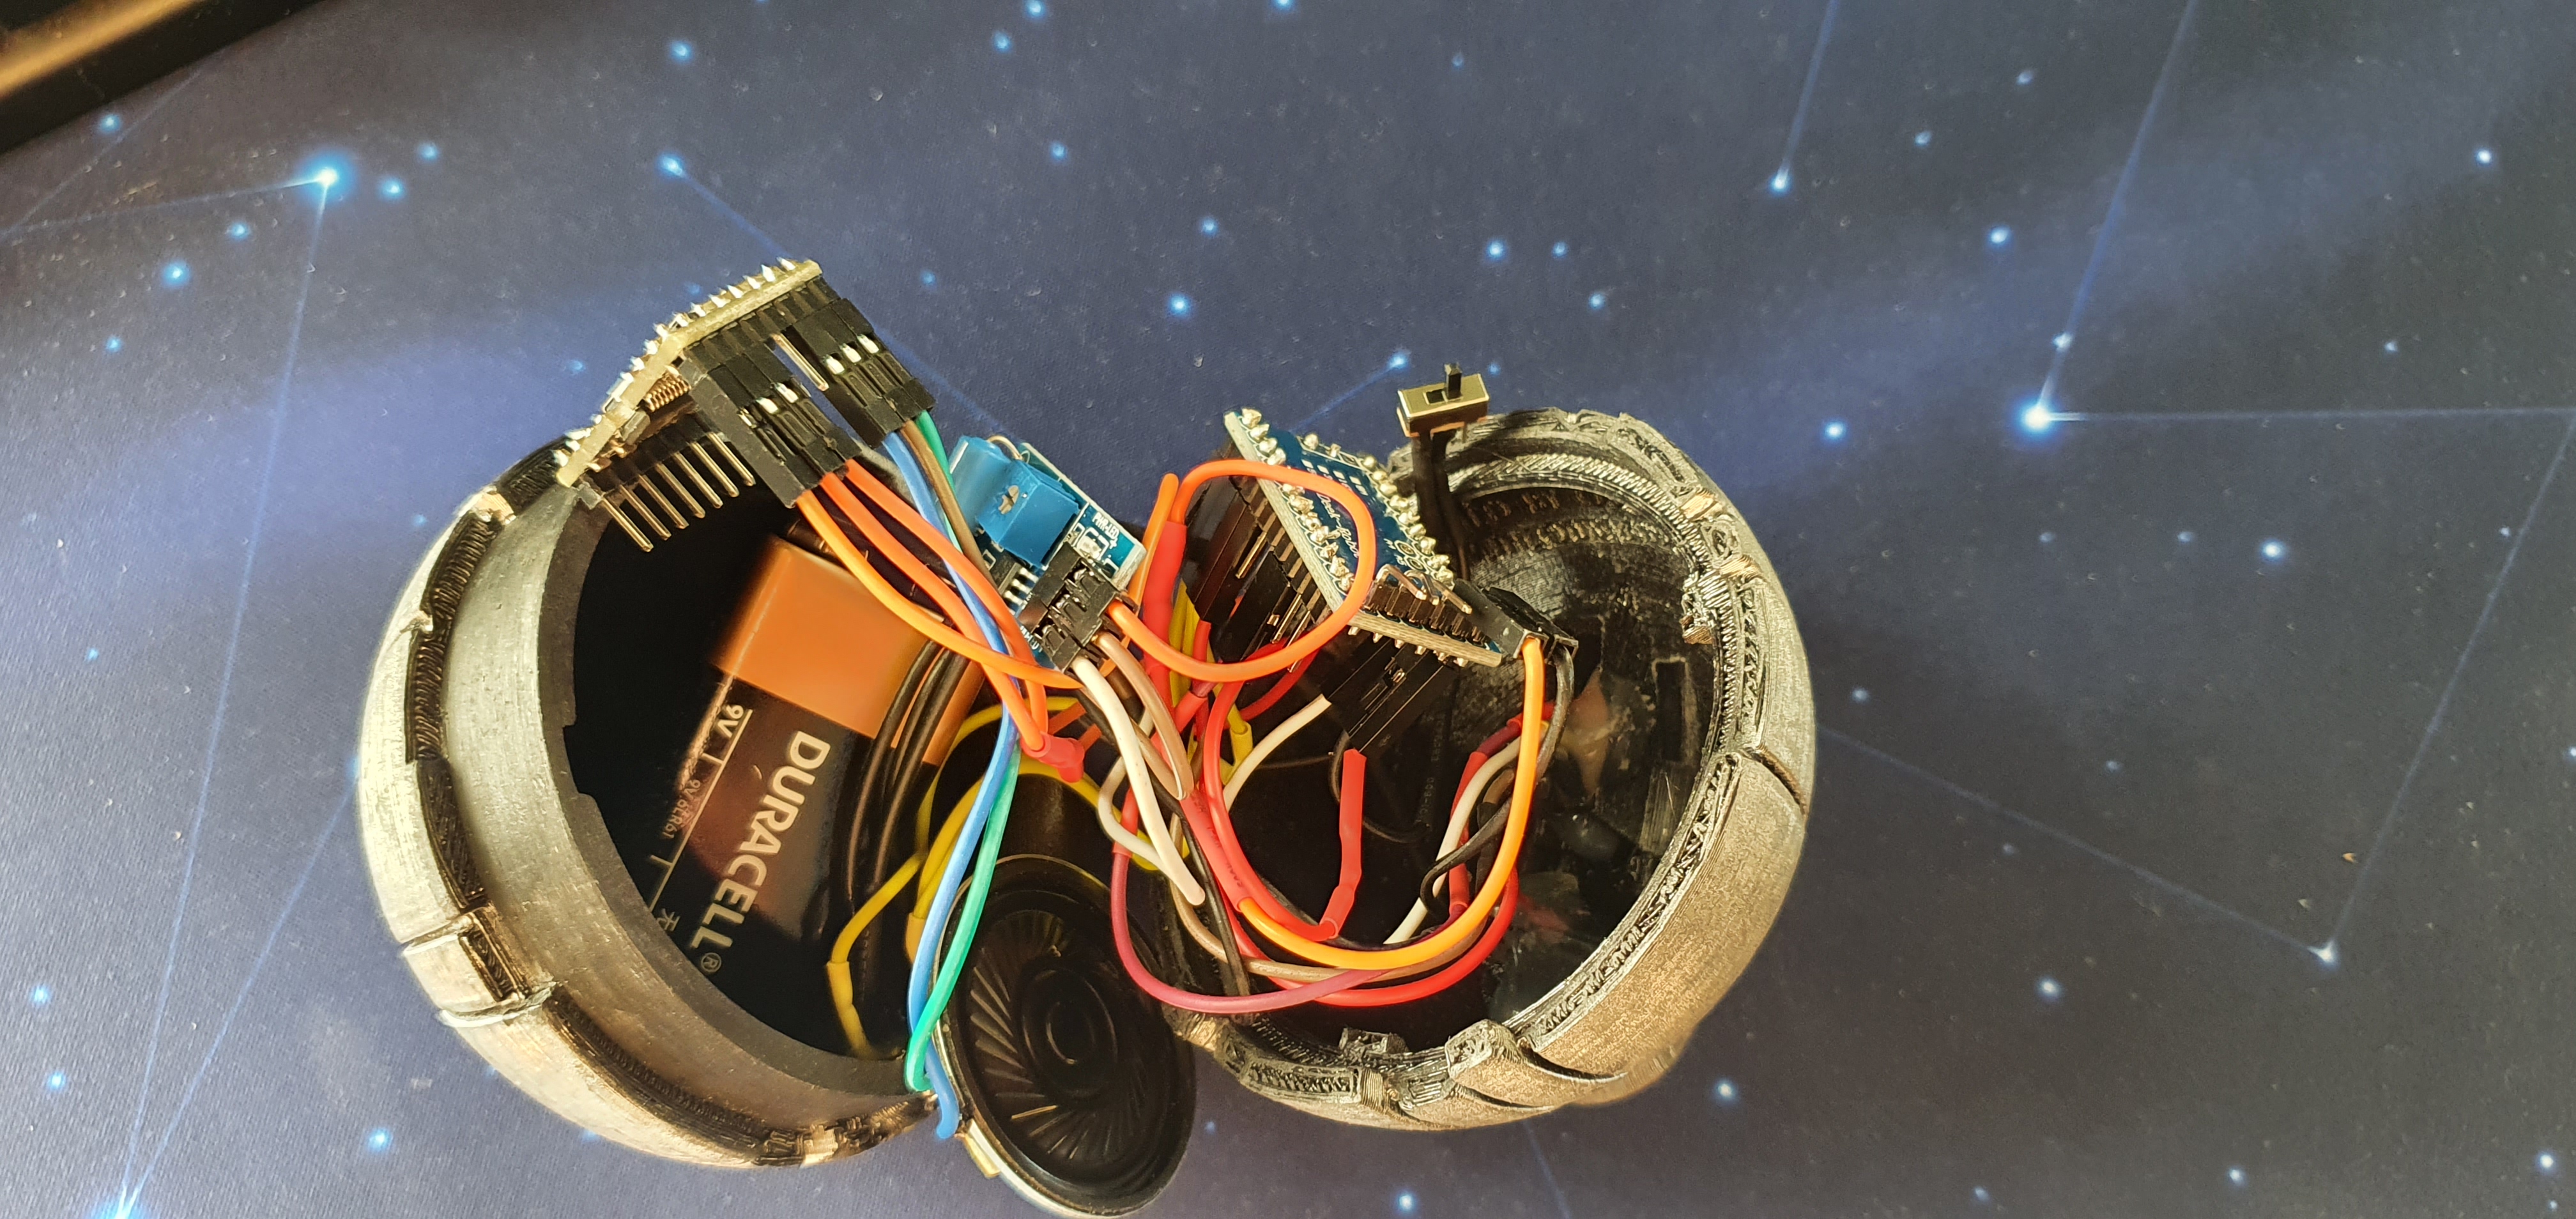
The idea of this project is to replicate the looks of a detonator by using an Arduino microcontroller board. To this we connect a micro switch, DFPlayer Mini module (to witch the speaker is connected) and LEDs such that when the switch is pressed, the LEDs will light up in a specific order as well as the speaker will be emitting a particular sound, both of this signifying the start of an arming sequence for a detonator. We will also connect to the Arduino microcontroller a vibration/ movement sensor module SW-420, so that when the detonator is thrown and it hits an object, the previous sequence will change, meaning the LED’s will all be on at the same time and the speaker will emit an explosion sound.
Hardware Design
Components
| Name | Quantity |
|---|---|
| Arduino Pro Mini | 1 |
| Vibration Sensor Module SW-420 | 1 |
| DFPlayer Mini | 1 |
| Speaker | 1 |
| Red LED | 1 |
| Yellow LED | 3 |
| 100 Ohm Resistor | 1 |
| 1k Ohm Resistor | 1 |
| Microswitch | 1 |
| Switch | 1 |
| 9V Battery | 1 |
| Plastic ball shaped case | 1 |
Electric Diagram:

Software Design
How It Works
We begin by declaring all global variables and creating the classes needed for the player.
#define BUTTON 2//detonator button
#define LEDRED  5//armed LED
#define LEDLEFT 6 // yellow LED
#define LEDMIDDLE 7 // yello LED
#define LEDRIGHT 8 //yellow LED
#define SENSOR 9 //sensor input
#define TX 10 //TX pin on DFPlayer module
#define RX 11 //RX pin on DFPlayer module

const int time = 2124;//the delay between sequence change
int sequenceNumber = 0;

SoftwareSerial softwareSerial(TX, RX);

DFRobotDFPlayerMini player; // declaration of player
We create two functions: one that will turn on the yellow LEDs in a given configuration (i. e. left-on, middle-off, right-on) and a function that returns the value of the movement sensor.
//Run one LED sequence
void Sequence(bool Left, bool Middle, bool Right){
  if (digitalRead(BUTTON) == LOW)//if true (button is pressed) run LED sequence
  {
    if (Left)
    {
      digitalWrite(LEDLEFT, HIGH);
    }
    else
    {
      digitalWrite(LEDLEFT, LOW);
    }

    if (Middle)
    {
      digitalWrite(LEDMIDDLE, HIGH);
    }
    else
    {
      digitalWrite(LEDMIDDLE, LOW);
    }

    if (Right)
    {
      digitalWrite(LEDRIGHT, HIGH);
    }
    else
    {
      digitalWrite(LEDRIGHT, LOW);
    }
  }
}

long TP_init(){
long measurement=pulseIn (SENSOR, HIGH); //wait for the pin to get HIGH and returns measurement
return measurement;
}
After this, we begin the setup process by starting the program and setting all LEDs on LOW.
void setup()
{
  Serial.begin(9600);
  pinMode(SENSOR, INPUT);
  softwareSerial.begin(9600);

  pinMode(LEDRED, OUTPUT);
  pinMode(LEDLEFT, OUTPUT);
  pinMode(LEDMIDDLE, OUTPUT);
  pinMode(LEDRIGHT, OUTPUT);

  digitalWrite(LEDRED, LOW);
  digitalWrite(LEDLEFT, LOW);
  digitalWrite(LEDMIDDLE, LOW);
  digitalWrite(LEDRIGHT, LOW);

  //now set pins to input
  pinMode(BUTTON, INPUT_PULLUP);


  // start the player
  player.begin(softwareSerial);


}
The loop() part of the program is made out of two scenarios.
In the first scenario, the switch is off (The convention for this project is that if the microswitch is off, the circuit is active. If the switch is on, then the circuit is off. The reason for this being the outer design of the toy as well as the desire to make it movie accurate) and the program begins the arming sequence. It receives the measurement from the movement sensor and if the measurement is smaller than the chosen value, it keeps on with the arming sequence. If the measurement is greater than the chosen value, it stops the previous sequence by stopping track 1 and starts the detonation sequence by playing track 2 and turning all LED’s on HIGH.
// Start communication with DFPlayer Mini

    // Set volume to a value between (0 to 30)
    player.volume(30);

  if (digitalRead(BUTTON) == LOW ){
      player.play(1); // play the arming sequence
      digitalWrite(LEDRED, HIGH);//switch armed LED (red) on
  }

  if (digitalRead(BUTTON) == LOW && sequenceNumber == 0)
  {
    long measurement =pulseIn (SENSOR, HIGH); //get measurement from teh sensor
    Serial.println(measurement);
    if (measurement > 1000)
    { // measurement checks
      player.stop();
	    player.play(2); //playing detonating sequence
	    sequenceNumber = 0;
	    digitalWrite(LEDRED, HIGH);
      digitalWrite(LEDRIGHT, HIGH);
      digitalWrite(LEDMIDDLE, HIGH);
      digitalWrite(LEDLEFT, HIGH);
	    while(digitalRead(BUTTON)==LOW){ // give a chance to turn off the toy
		    delay(10000);
		    player.stop();
		    digitalWrite(LEDRED, LOW);
        digitalWrite(LEDRIGHT, LOW);
        digitalWrite(LEDMIDDLE, LOW);
        digitalWrite(LEDLEFT, LOW);
	    }
    }
    else
    { // measuremnt does not check
      delay(time);
      Sequence(false, true, true); // continu with arming sequence
      sequenceNumber++;
    }
  }
The second scenario is when the switch is on, so the circuit is not active.
if (digitalRead(BUTTON) == HIGH) // toy is turned off
  {
    sequenceNumber = 0;
    player.stop();
		digitalWrite(LEDRED, LOW);
    digitalWrite(LEDRIGHT, LOW);
    digitalWrite(LEDMIDDLE, LOW);
    digitalWrite(LEDLEFT, LOW);
  }
Additionally, depending on the length of track 1 used in the arming sequence, we will choose a number of times the respective if{} statement will be repeated. In this case it, is repeated 12 times.
Obtained Results


Conclusion
As a result of this project, there are a few things that I learned:
- Despite how complicated a project may seem on the outside, in reality, if broke down into smaller parts, it becomes much easier to handle.
- Because of the large number of Arduino libraries, it is quite easy to develop the code for your idea.
- It is also very easy to fry components compared to the work it goes into soldering them together.
Download
Bibliografie/Resurse
