Lab 3: Light Blink
What you need
- One Raspberry Pi connected to Wyliodrin STUDIO;
- One LED;
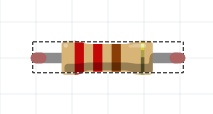
- One 220 Ohm resistor;
- Jumper wires;
- Breadboard;
The Setup
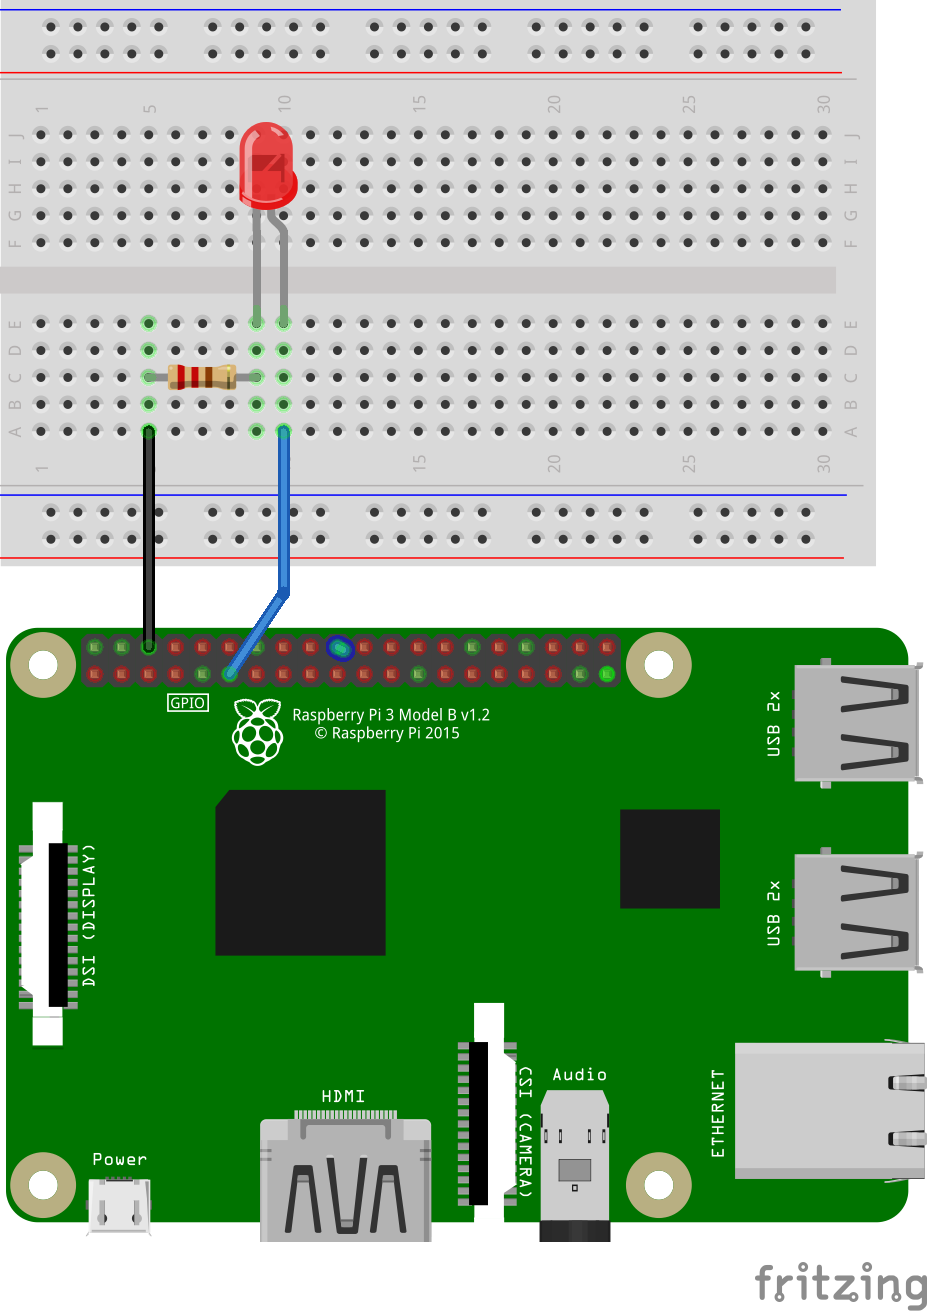
Connect the LED to the Raspberry Pi following the schematics in the figure.
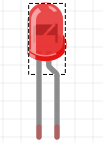
First of all, you need to distinguish the anode from the cathode. The LED has two legs: one is longer, that one is usually the anode and the shorter one is the cathode. Another way of identifying them is by looking inside the LED. There are two metal parts in it. The smaller one is connected to the anode and the bigger one is connected to the cathode.
 To understand the anode and the cathode of the LED, imagine these two following situations:
- The cathode is connected ,through the resistor of course, to the ground. This means that the anode will be wired to the GPIO pin, which has to be High in order to make the LED light up.
- The anode is connected to the VCC pin of the board. Which means that, should you want to light up the LED, the cathode has to be connected to the GPIO setted to Low . Don't forget this kind of a circuit also requires a resistor.
To sum it up, although the position of the resistor is not fixed, it can can either connect the ground to the cathode or the anode to the GPIO pin, the cathode should be connected to the ground to obtain the usually desired behaviour. Meaning you want the LED to light when the GPIO is set to HIGH and not to light when the GPIO is set to LOW. If you put the legs the other way around, the effect will be the opposite.
The Code
Let's see the same application in three different programming languages.
Visual Programming
First, you can try it out in Visual Programming.
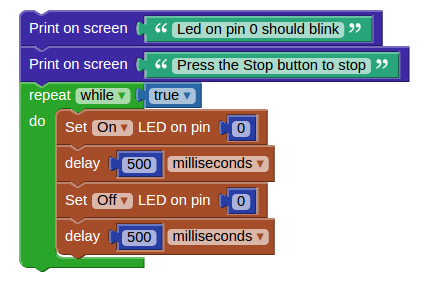
Here's an example:
 The first two blocks will simply print on the screen the messages written inside them.
The repeat while true blocks will create an endless loop. Inside it, there will be the blocks that turn on and off the LED on the chosen pin. There is also a delay block, which will insert here a pause of 0.5 seconds between the on state of the LED and the off one.
Python
An important feature of Visual Programming in Wyliodrin is that you can easily get the Python code for your projects, just by clicking the Show code button.
from wyliodrin import *
from time import *

pinMode (0, 1)

print('Led on pin 0 should blink')
print('Press the Stop button to stop')
while True:
  digitalWrite (0, 1)
  sleep ((500)/1000.0)
  digitalWrite (0, 0)
  sleep ((500)/1000.0)
First of all, you need to import the wyliodrin and time modules that will allow you to use some simple functions.
Firstly, you have to declare the pins you are going to use and their purpose. In this case, pin 0 is used as OUTPUT. This is what pinMode(0,1) does (1=OUTPUT, 0=INPUT).
Next, there are the print functions that simply write the text in the shell.
Another useful function is digitalWrite. The function receives as parameter the pin and the value. As you are doing a digital write, the value can be either 0 or 1. If the value is 0, the pin will have no current. If the value is 1, there is current.
The sleep function makes the program wait for the desired number of seconds.
All this code is enclosed within the while True loop that makes it to be run forever, until the application is stopped.
Useful Functions
You can use the following functions both in Python and JavaScript:
- wyliodrin.pinMode (pin, mode) - configures the specified pin to behave either as an input or an output;
- wyliodrin.digitalWrite (pin, value) - writes a HIGH or a LOW value to a digital pin;
- wyliodrin.delay() - pauses the program for the amount of time (in miliseconds) specified as parameter.
In order to use these function, import the wyliodrin module:
- Python: from wyliodrin import wyliodrin
- JavaScript: var wyliodrin = require ('wyliodrin');
Tips & Tricks
Usually the longer leg is the anode and the shorted one is the cathode. However, this is not standard, to make sure which is which, you should know that the cathode leg is always connected to the bigger part inside the LED.
Exercises
- Create a traffic lights system that has lights for cars and for pedestrians.
- Use Open Weather Map to get the temperature in Bucharest and light up one of the green, yellow or red LEDs depending on the temperature. Note:Use the requests module.


