02. [10p] Testing a web application using Postman
The application started earlier is a web application that does not have a graphical interface (i.e., a frontend). For this reason, it can only be tested by sending HTTP requests using a tool such as Postman. We will now show how to use Postman to connect to a web application backend.
In the Postman application, we can create the two types of requests that we want to test:
- GET - requests information from the backend (in our case, the list of books in the library)
- POST - sends information to the backend (in our case, adds a book to the library).
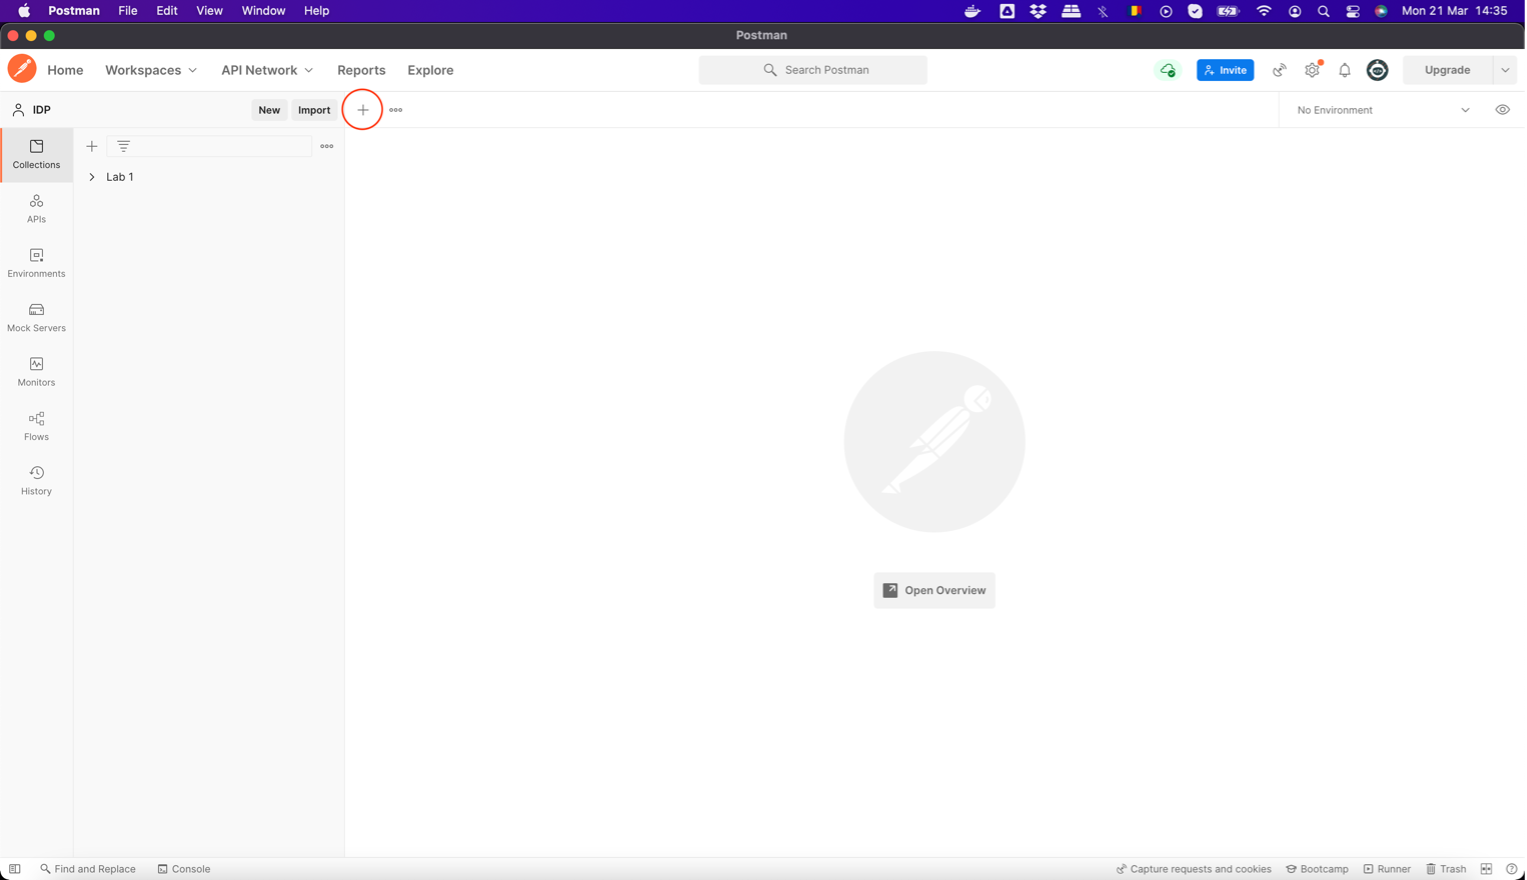
The steps to accomplish this are outlined below. Firstly, once we have opened the Postman application, we press the + button, as can be seen in the image below (the button is circled in red).
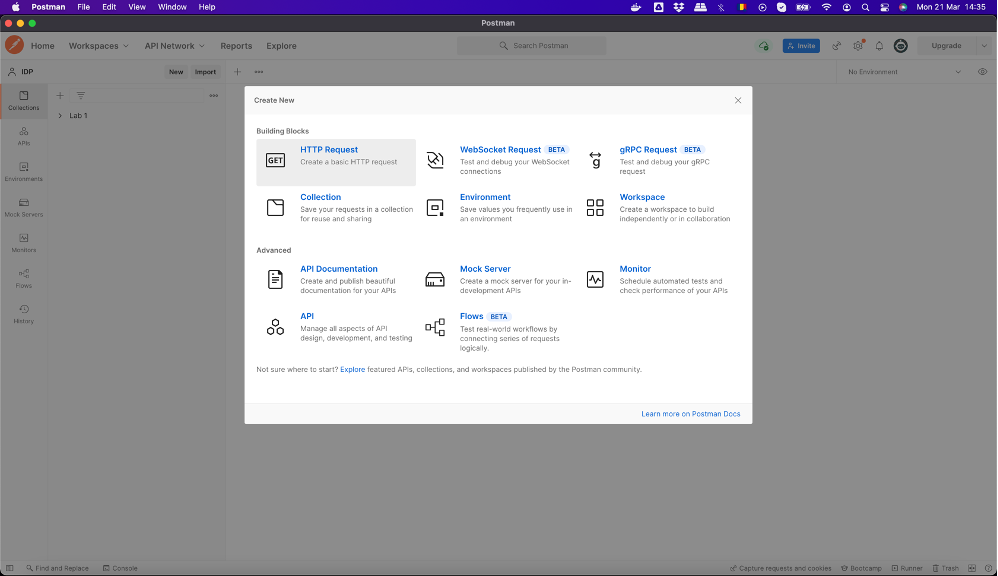
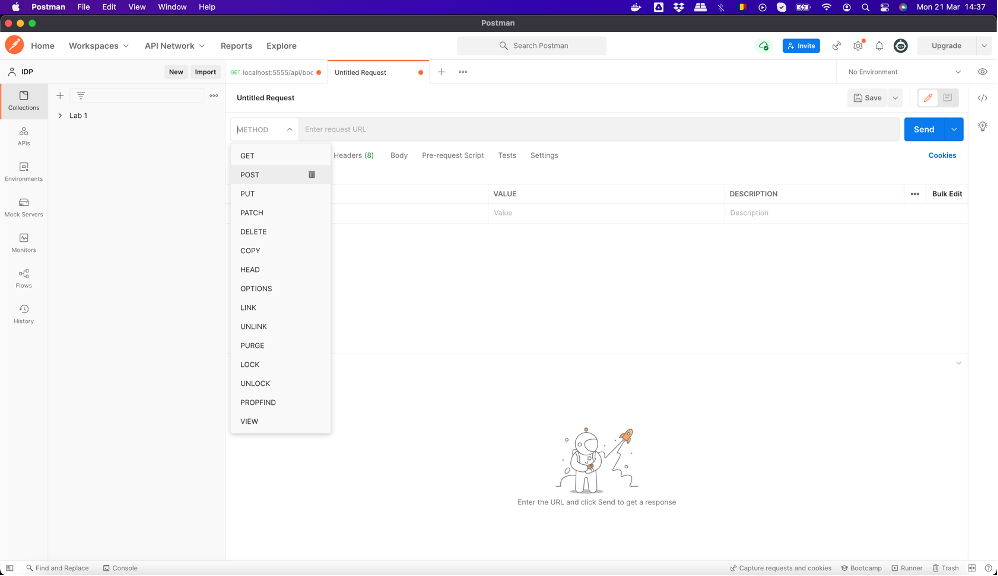
Next, we select the HTTP Request option, as shown below.
We add the first request, whose type should be GET. In the address bar, we write localhost:5555/api/books/ and then we press the Send button (shown in red in the image below).
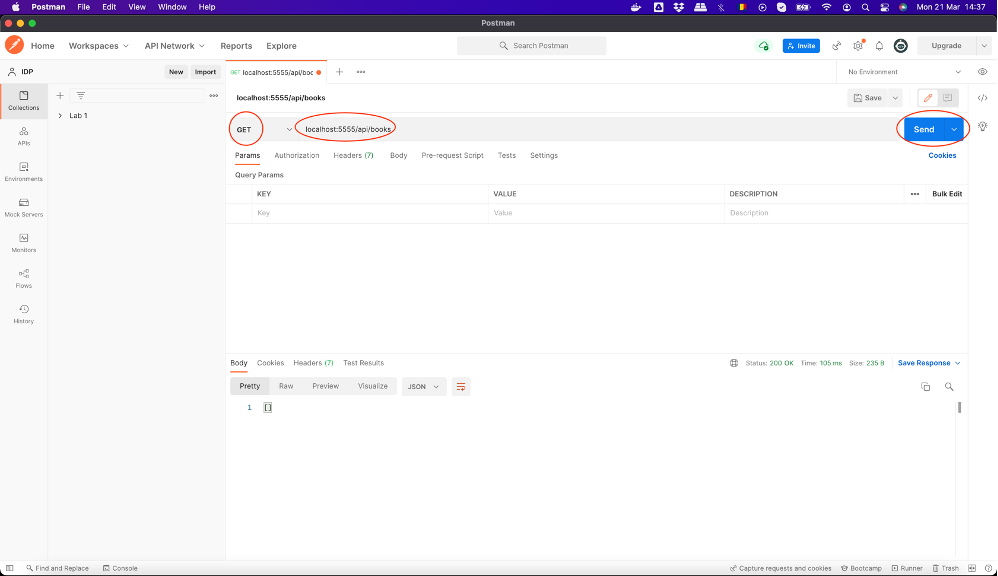
Once the request is sent and everything is in order, we should receive a reply with the status 200 OK (circled in the image below), which contains an empty string (because there are currently no books in the library), as shown below.

Next, we can create a POST request. We start by pressing the circled + button in the image below.
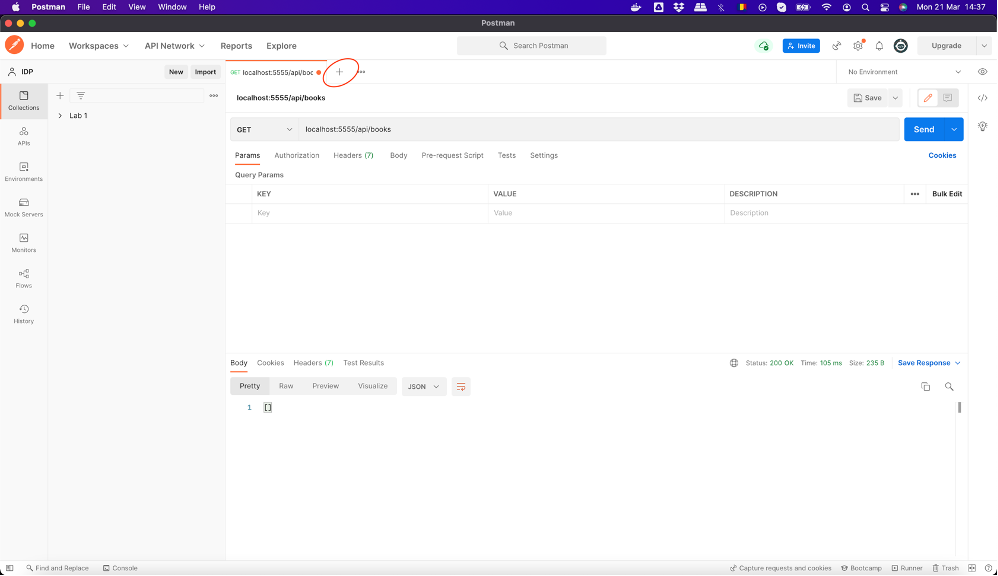
Next, we set the request type to POST and then put the same address as before.
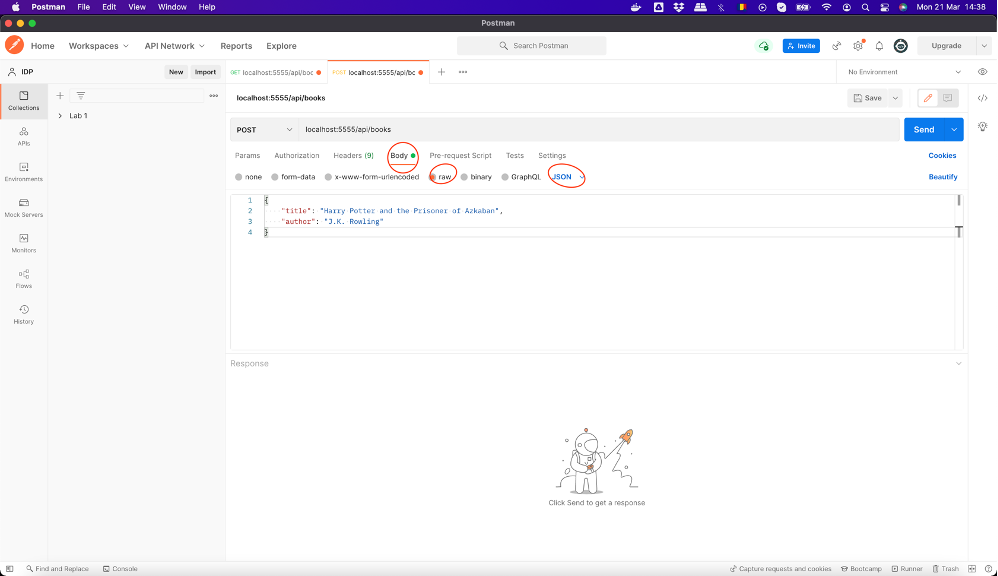
Because we are now adding a book, we need to place the book information in the POST request we are making. This is done by selecting the Body component of the request (circled in red in the image below), marking the data as Raw and JSON (also in red in the image) and adding the book information in JSON format (see below an example for “Harry Potter and the Prisoner of Azkaban”):
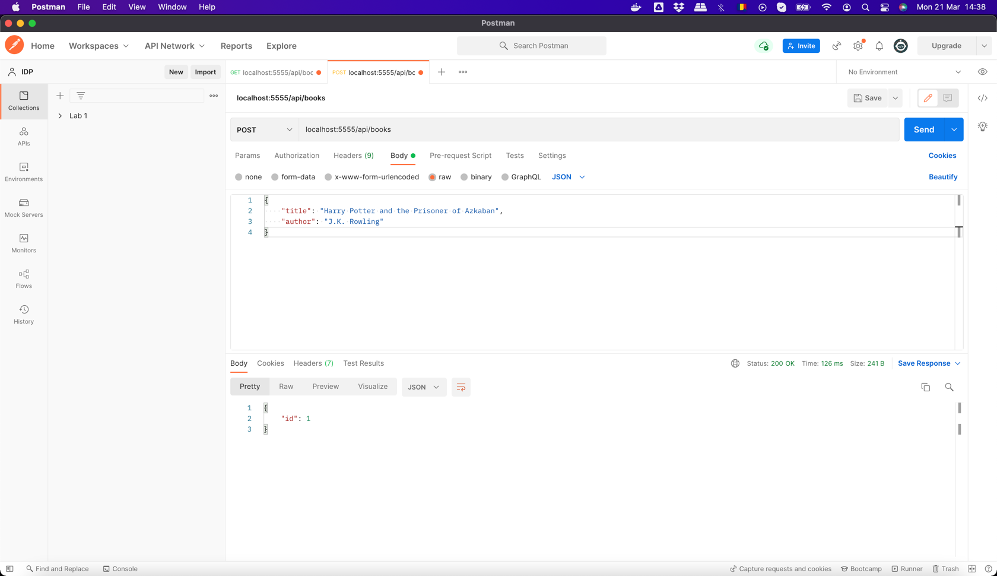
When we press the Send button, if everything is fine, we will receive a reply with the status 200 OK and the ID of the newly-added book, as can be seen in the image.
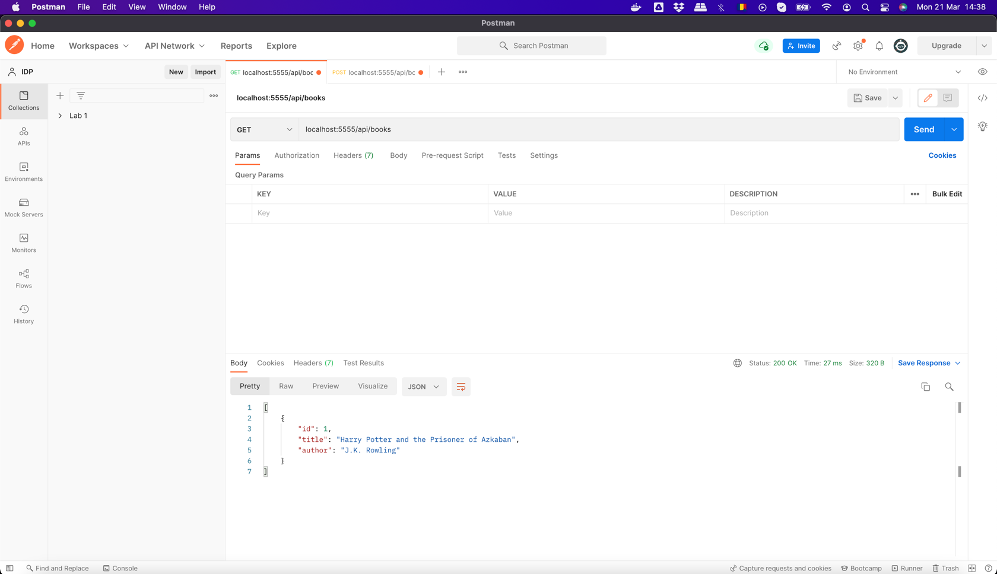
Finally, if we run the GET request again, we can check the existence of the book we added in the library.
Subtasks
- install Postman
- send a GET request to your application based on the steps above and check that it returns 200 OK and an empty list of books
- add a book of your choosing in the library using a POST request based on the steps above and check that it returns 200 OK
- send a GET request again and check that you can see the book you just added